No products in the cart.
My TikTok Planning Strategy & How You Can Do It Too!
So you want to learn about how to plan for TikTok? I resisted the urge to get on TikTok for a long time last year, but during lockdown last year, I caved. I got into it and have 0 regrets, but just like any other platform, I have to work hard in order to create content for TikTok. Creating these videos is hard and time-consuming, so anyone who says it’s not is lying to you. I want to take you through how I make and plan my content so you can do it too!
1.Plan Content in Batches of 10-15
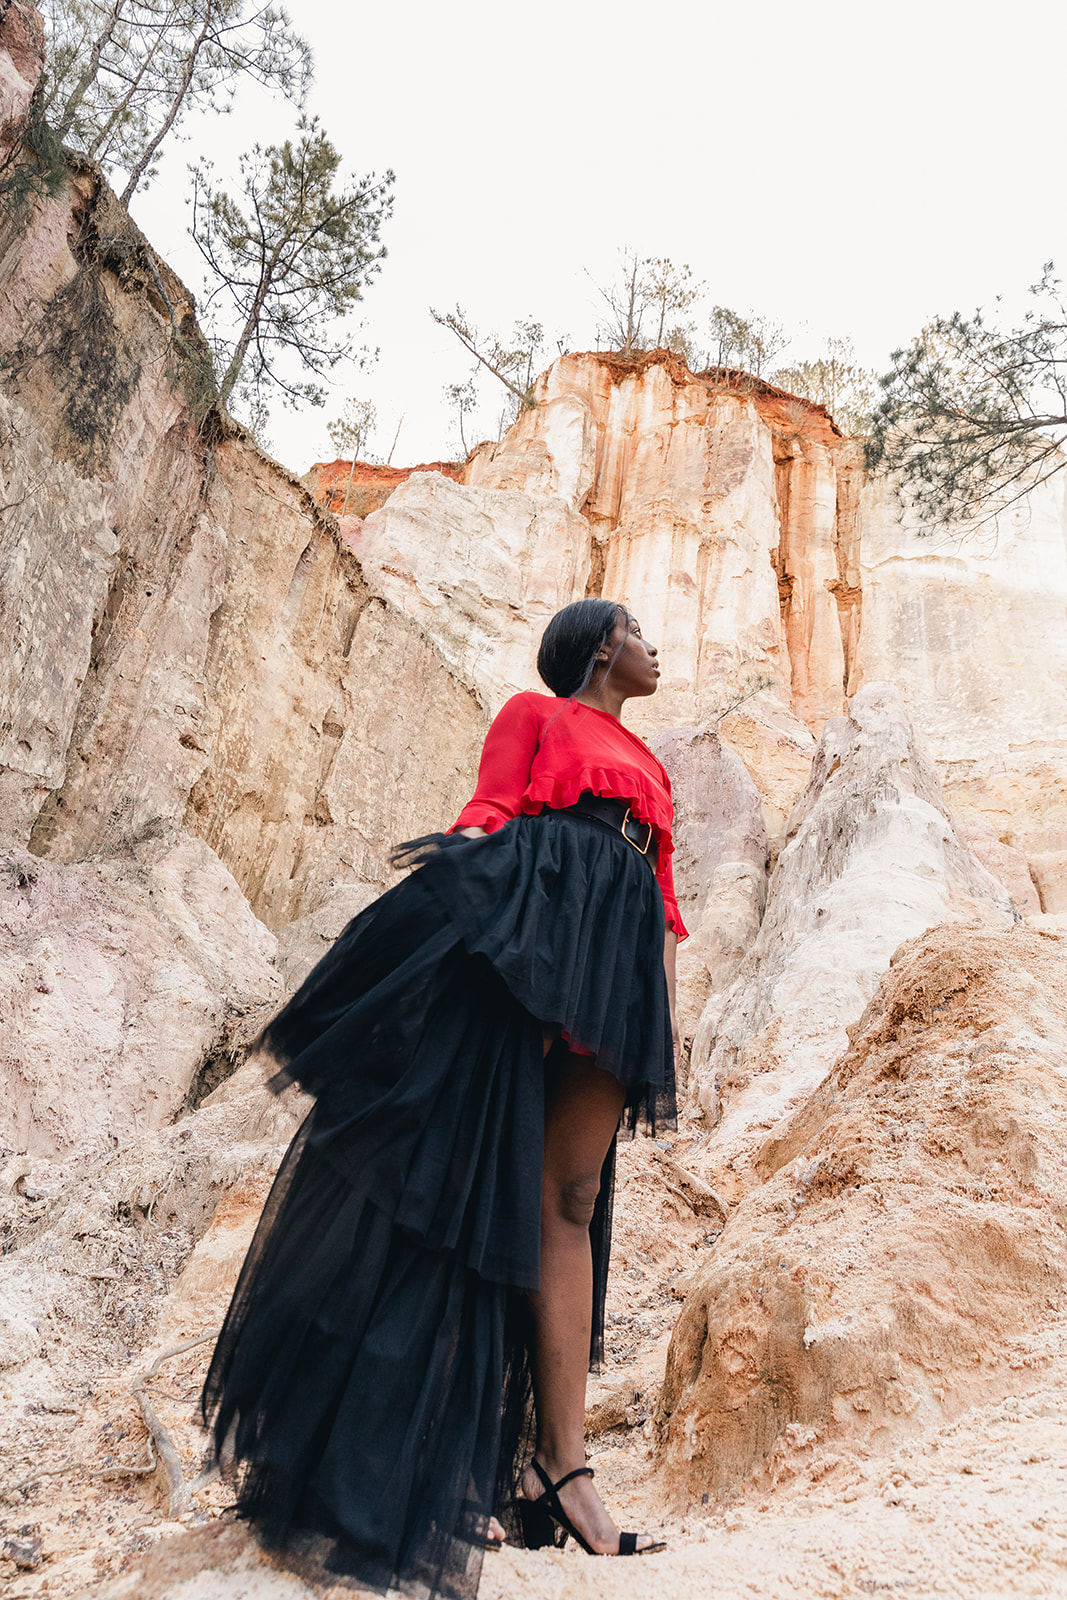
When I plan, I plan in big batches of like 10-15 videos. One of the biggest things that works on TikTok is planning and posting 2-3 times a day. So 10-15 videos will get me from 5-7 days of content, depending on how many times I want to post per day. My content is very similar to my blog/Instagram content, so I plan around that and keep the content consistent there!
2. Break Down Days for Shooting in Bulk + Clothes Planning
Next, I break down my shooting just like I do when I’m taking photos. Shooting is TIME CONSUMING. Oftentimes, there are a million and one outtakes that I have to sift through in order to get the shot or video I want. I pick 1-2 days a week where I carve out 2-3 hours each day and plan the outfits I want to wear for each video.
3. Bulk Shooting + Shooting when Doing other Things
As I was saying, bulk shooting is key. Often, I’ll shoot snippets while I’m doing other things like out and about or shooting images for Instagram or the blog. Bulk shooting and making the most of the time means that I get more done at one time, my hair and makeup are done, and I’m ready to go. Plus, I’m in the mindset to shoot rather than just not feeling it.
4. Editing in In Shot
I actually don’t edit in TikTok. In a recent video I did, I talked about the editing apps I like to use, one of which being InShot! This is where I edit all of my videos and I really enjoy using it because it’s like Final Cut, but on my phone. It’s not as clunky and a lot easier to use than others I’ve found, plus I can take longer videos and make them into shorter TikToks in peace. Plus the export quality is still really good, so it is handy.
5. Adding Subtitles
Subtitles are really essential for accessibility or if you talk fast like me. Don’t get me wrong, sometimes in a rush, I forget, but for the most part, I take the time and add the captions. I do prefer to add them in TikTok, which is complicated, but worth it.
6. Screen Recording in TikTok to Repurpose for Reels
When I add subtitles in or when I want to repurpose a TikTok for Reels, I’ll screen record the video from the caption screen. There I can capture everything I want and it won’t have the watermarks that Instagram often flags when you post Reels. It’s a win win situation and I get the video to use both places.
7. Schedule in Planoly + Todoist + TikTok Online
This is the hardest part, but where the screen recording comes in handy. When I want to use a video on Reels, I plan the caption & hashtags in my monthly plan, but I’ll also remind myself in my Todoist app when I want to use it, just so I don’t forget. I can’t autoupload videos in Planoly just yet, but I make it work by just adding the video to a folder in my phone called Reels to Post. TikTok is simpler and I just take that screen recorded video, AirDrop it to myself, and upload it to the TikTok online interface, where it can be scheduled to go live whenever I please!
8. Posting on TikTok!
Finally, they go live and I do my very best not to watch the views go from 1-2-3-4-5!
I hope that this was interesting and helpful to new budding short-form creators! If so, let me know in the comments what your process is or if any of these might be helpful in getting your TikTok off the ground! Be sure to check out my TikTok here and let me know what you think of my videos!





Leave a Reply